Windows 10 là một trong những phiên bản Windows được mong đợi nhất của Microsoft. Mặc dù, Windows 8 đã tạo ra một xu hướng mới trong thế giới HĐH Máy tính để bàn, nó có một số vấn đề về thiết kế và hiệu suất là trọng tâm chính của Microsoft trong Windows 10. Vì vậy, Windows 10 Final Build đã được tiết lộ vào ngày 29 tháng 7 năm 2015, cho Máy tính để bàn như cũng như Điện thoại thông minh.
Nó bao gồm rất nhiều sửa đổi bằng cách xem xét các sai sót của Windows 8. Trên thực tế, nó là một phiên bản nâng cao của Windows nhưng vẫn có một số hậu quả xảy ra hàng ngày với những người dùng khác nhau.
Một phần chính của những hậu quả này là các lỗi xuất hiện khi cố gắng thực hiện một nhiệm vụ cụ thể. Một số người đã gặp phải thông báo lỗi khi cố gắng mở các phần mềm và trình duyệt khác nhau bên trong Windows 10. Lỗi này đi kèm với thông báo lỗi cho biết Ứng dụng không thể khởi động chính xác (0xc0000005). Nhấn OK để đóng ứng dụng . Lỗi này thường xảy ra với các trình duyệt internet nhưng nó không chỉ giới hạn ở những trình duyệt này. Bất kỳ ứng dụng nào bên trong Windows có thể ngừng phản hồi do lỗi này. Vì vậy, nó cần được sửa chữa để hoàn nguyên các phần mềm thiết yếu đó hoạt động trở lại.

11/12/2016: Người dùng đã báo cáo rằng các phương pháp được liệt kê dưới đây cũng sẽ hoạt động trên Windows 7.
Lý do đằng sau lỗi Windows 10 0xc0000005:
Có một số lý do đã biết gây ra lỗi này làm ảnh hưởng đến hoạt động của các phần mềm khác nhau trong Windows 10. Một trong những lý do được coi là nguyên nhân chính là do chương trình chống vi-rút của bên thứ ba gây ra xung đột với các tệp thực thi và ảnh hưởng đến hoạt động của chúng. Mặt khác, các sổ đăng ký có thể bị hỏng do phần mềm độc hại và vi rút khiến các chương trình hoạt động bất thường. Đôi khi, trình điều khiển phần cứng không tốt cũng có thể là thủ phạm gây ra lỗi này.
Các giải pháp để khắc phục lỗi Windows 10 0xc0000005:
Dựa trên những lý do đã đề cập ở trên, các giải pháp là thẳng thắn. Vì vậy, hãy thực hiện các phương pháp sau để loại bỏ thông báo lỗi khó chịu này.
Sửa chữa các tệp hệ thống bị hỏng
Tải xuống và chạy Restoro để quét và khôi phục các tệp bị hỏng và bị thiếu từ đây , sau khi hoàn tất, hãy tiến hành các giải pháp bên dưới. Điều quan trọng là đảm bảo rằng tất cả các tệp hệ thống còn nguyên vẹn và không bị hỏng trước khi tiếp tục các giải pháp bên dưới.
Phương pháp # 1: Sửa chương trình chống vi-rút
Các chương trình chống vi-rút có thể ảnh hưởng đến các tệp thực thi của một số chương trình. Vì vậy, để khắc phục sự cố này, bạn bắt buộc phải tắt chương trình chống vi-rút của bên thứ ba để kiểm tra xem nó có phải là thủ phạm hay không. Xin lưu ý rằng việc tắt các chương trình chống vi-rút có thể dẫn đến một số mối đe dọa nghiêm trọng cho máy tính của bạn khi được kết nối với internet.
Bạn cũng có thể dựa vào phần mềm bảo mật của riêng Windows, tức là Windows Defender . Nó có chức năng tương tự như bất kỳ phần mềm chống vi-rút nào khác. Bạn có thể tắt tính năng chống vi-rút bằng cách điều hướng đến Cài đặt của nó và tắt tấm chắn.

Sau khi nó bị vô hiệu hóa, hãy kiểm tra lại lỗi. Nếu vẫn còn, hãy chuyển sang phương pháp tiếp theo.
Phương pháp # 2: Sửa chữa sổ đăng ký
Sổ đăng ký là cơ sở dữ liệu trung tâm của Windows liên tục được PC của bạn sử dụng để giúp PC đọc nhiều tệp và cài đặt khác nhau mà nó cần để chạy. Sổ đăng ký có thể bị hỏng do hư hỏng một số tệp nhất định cần thiết để xếp chồng mọi thứ vào đúng vị trí. Vì vậy, hầu hết các chuyên gia khuyên bạn nên đảm bảo sao lưu Registry của mình và giữ bản sao lưu này được lưu trữ trên thẻ USB thông thường để bạn có thể khôi phục Registry của mình ở trạng thái trước đó trong trường hợp bị hỏng. Tuy nhiên, nếu bạn không sao lưu Sổ đăng ký của mình, hãy làm theo các bước sau để sửa các đăng ký nhằm giải quyết lỗi 0xc0000005 .
1. Tải xuống phần mềm dọn dẹp sổ đăng ký từ liên kết này .
2. Sau khi tải xuống, hãy cài đặt nó bằng các cài đặt được khuyến nghị. Mở phần mềm sau khi quá trình cài đặt kết thúc.
3. Trên giao diện, nhấp vào tab Registry hiện ở khung bên trái và nhấp vào nút có nhãn là Quét các vấn đề . Nó sẽ bắt đầu tìm kiếm lỗi trong sổ đăng ký và khi quá trình tìm kiếm kết thúc, một nút Khắc phục sự cố đã chọn sẽ được kích hoạt. Nhấp vào nút đó và mọi thứ sẽ được sửa.

Phương pháp # 3: Sửa trình điều khiển bị lỗi
Trình điều khiển là các chương trình phần mềm giúp máy tính giao tiếp với phần cứng gắn liền với nó. Vì vậy, khi chúng bị hỏng, phần cứng có xu hướng gây ra trục trặc . Sửa chữa những thợ lặn bị lỗi này có thể giúp bạn theo một số cách. Làm theo các bước dưới đây.
1. Mở Trình quản lý thiết bị bằng cách nhấn Win + X và chọn nó từ danh sách.
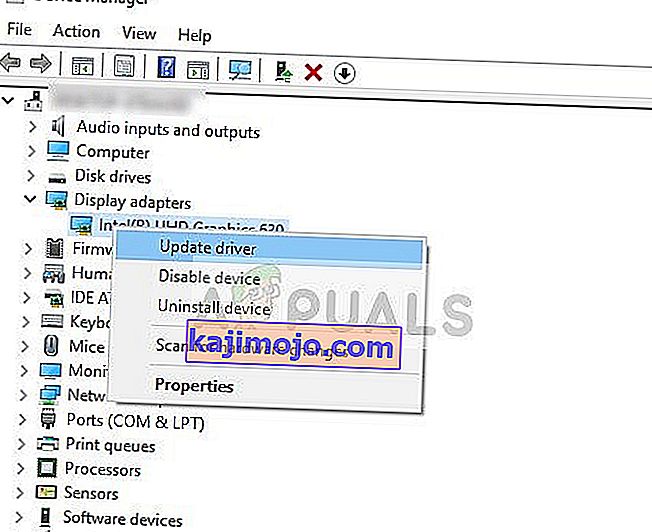
2. Bên trong Trình Quản Lý Thiết Bị, cuộn xuống để xem có phần cứng nào có dấu vàng không. Nếu có, hãy nhấp chuột phải vào đó và chọn Cập nhật phần mềm trình điều khiển . Nếu bạn đã cài đặt các trình điều khiển gần đây, hãy cài đặt lại các trình điều khiển đó.

3. Trên cửa sổ xuất hiện sau đó, nhấp vào Tự động tìm kiếm phần mềm trình điều khiển được cập nhật để nó tự động tìm kiếm và cài đặt trình điều khiển. Trong trường hợp, nếu bạn đã tải xuống trình điều khiển theo cách thủ công, hãy nhấp vào tùy chọn bên dưới để duyệt và cài đặt chúng. Sau khi quá trình được thực hiện, hãy kiểm tra lỗi.

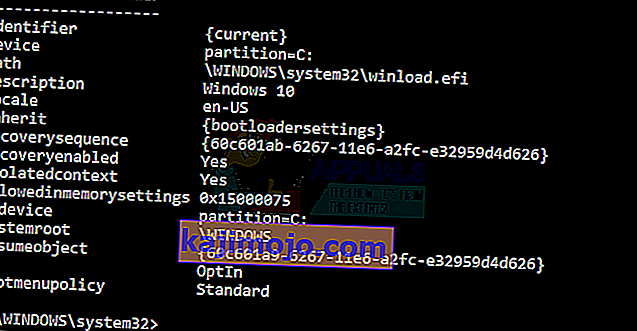
Phương pháp # 4: Khắc phục BCD
Phương pháp này do người dùng tự chịu rủi ro. Điều này đã làm việc cho một số và không cho một số. Bạn cũng sẽ cần phải kích hoạt lại Windows sau khi thực hiện các bước trong hướng dẫn này.
- Giữ Windows Key và Press X . Chọn Command Prompt (Admin)
- Gõ “ bcdedit” và nhấn ENTER. Nếu Đường dẫn bộ nạp khởi động Windows của bạn là xOsload.exe thì bạn cần xóa một số tệp và sửa chữa BCD của mình. Bạn có thể thấy điều này trong trường PATH sau khi bạn thực hiện lệnh “ bcdedit”.
- Sau khi hoàn tất, hãy thực hiện các lệnh sau bên dưới, một số có thể trả về không tìm thấy nhưng hãy bỏ qua các lỗi và tiếp tục cho đến khi cuối cùng. Đảm bảo rằng bạn nhấn phím ENTER sau mỗi lệnh.

Del D: \ Windows \ System32 \ xOsload.exe Del D: \ Windows \ System32 \ xNtKrnl.exe Del D: \ Windows \ System32 \ Drivers \ oem-drv64.sys do c: \ boot \ bcd -h -r -s ren c: \ boot \ bcd bcd.old bootrec / Buildbcd
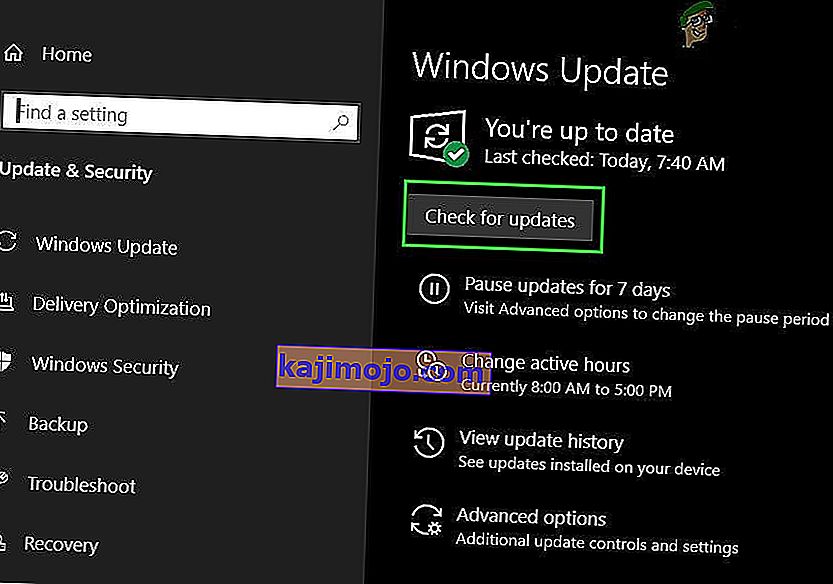
Phương pháp 5: Kiểm tra các bản cập nhật Windows
Bản cập nhật Windows thường chứa các bản sửa lỗi cho một số lỗi và trục trặc nhưng chúng cũng nổi tiếng là nhường chỗ cho các vấn đề mới trên máy tính của mọi người. Tuy nhiên, trong bước này, chúng tôi sẽ kiểm tra mọi bản cập nhật cho Hệ điều hành của bạn vì Microsoft thường vá mọi sự cố đến từ các bản cập nhật của họ. Để làm điều đó, hãy làm theo hướng dẫn bên dưới.
- Nhấn “Windows” + “I” để mở cài đặt Windows.
- Trong cài đặt, nhấp vào tùy chọn “Cập nhật và bảo mật” và từ phía bên trái, chọn tùy chọn “Windows Update” .

- Trên màn hình tiếp theo, hãy nhấp vào tùy chọn “Kiểm tra bản cập nhật” và nó sẽ tự động nhắc Windows kiểm tra mọi bản cập nhật có sẵn.
- Sau khi quá trình kiểm tra cập nhật hoàn tất, hãy nhấp vào nút “Tải xuống” để kích hoạt tải xuống và cài đặt các bản cập nhật mới trên máy tính của bạn.
- Sau khi các bản cập nhật này được cài đặt, hãy kiểm tra xem làm như vậy có khắc phục được sự cố trên máy tính của bạn hay không.


Phương pháp 6: Khôi phục máy tính
Nếu bạn vừa mới bắt đầu gặp sự cố này, sự cố có thể được kích hoạt do cài đặt trình điều khiển bị lỗi hoặc thậm chí do ứng dụng giả mạo mà bạn có thể đã cài đặt trên máy tính của mình gần đây. Do đó, trong bước này, chúng tôi sẽ hoàn nguyên trạng thái của máy tính về một ngày trước đó và hy vọng, điều này sẽ khắc phục được sự cố của chúng tôi nếu đó là do các lý do nêu trên. Để làm điều này:
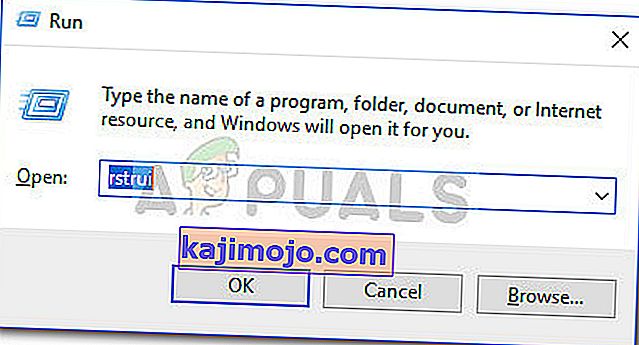
- Nhấn “Windows” + “R” để mở lời nhắc Chạy.
- Gõ vào “rstrui” và nhấn “Enter” để mở cửa sổ quản lý khôi phục.
- Nhấp vào “Tiếp theo” và chọn tùy chọn “Hiển thị thêm Điểm khôi phục” .
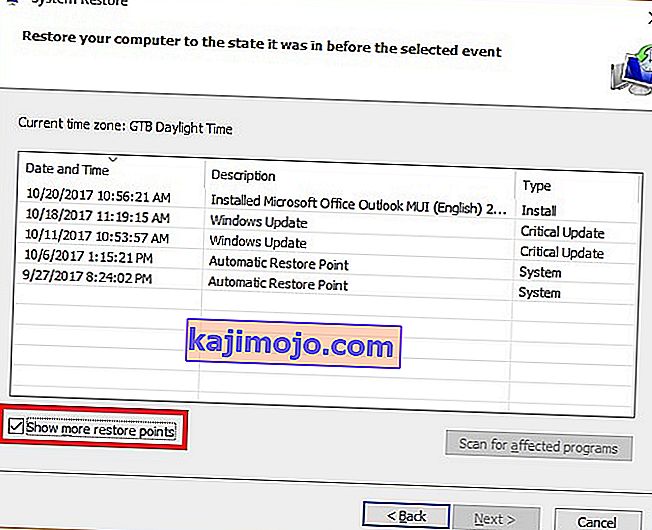
- Chọn điểm khôi phục từ danh sách trước ngày sự cố này bắt đầu xảy ra.
- Nhấp vào “Tiếp theo” một lần nữa và làm theo hướng dẫn trên màn hình để hoàn nguyên mọi thứ về ngày đã chọn.
- Sau khi quá trình khôi phục hoàn tất, hãy kiểm tra xem sự cố vẫn tiếp diễn.


Phương pháp 7: Bật tường lửa
Có thể trong một số trường hợp, lỗi đang được kích hoạt vì ứng dụng đáng ngờ hoặc ít nhất là nếu nó đã được đánh dấu là đáng ngờ và Tường lửa Windows không chạy trên máy tính của bạn để xác thực điều đáng ngờ này. Do đó, trong bước này, chúng tôi sẽ đảm bảo rằng Tường lửa của Windows đã được bật để loại bỏ lỗi này. Vì điều đó:
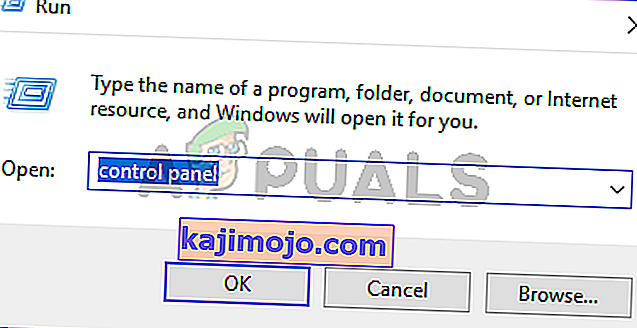
- Nhấn “Windows” + “R” để mở lời nhắc Chạy.
- Gõ vào “Control Panel” và nhấn “Enter” để khởi động giao diện Control Panel cổ điển.
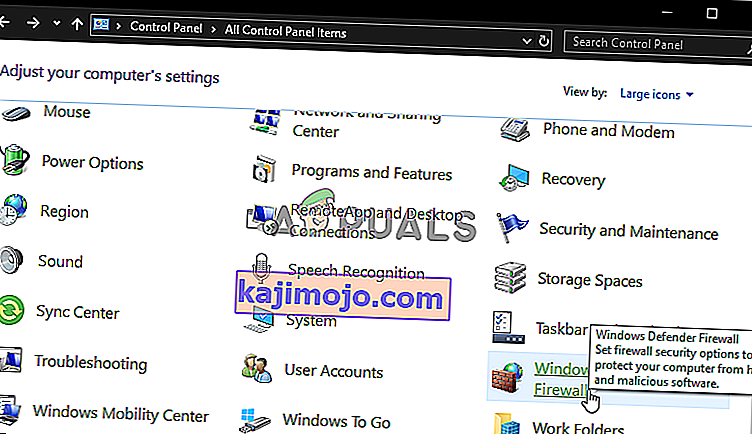
- In the Control Panel, click on the “ViewBy:” option and select the “Large Icons” button.
- After making this selection, click on the “Windows Defender Firewall” option to launch the Firewall and then select the “Turn Windows Defender Firewall On or Off”.
- Make sure to check the “Turn on Windows Defender Firewall” for both the available options to turn the Firewall on.
- After making this selection, save your changes and close out of the Window.
- After doing so, check to see if the issue still persists.


Method 8: Run SFC Scan
In some situations, you might’ve installed a bad driver on your computer or at some point, due to a storage failure, some system files or drivers might’ve been corrupted. Therefore, in this step, we will be running a complete system scan to identify any drivers that are missing signatures or to fix any abnormalities in the system files. For that:
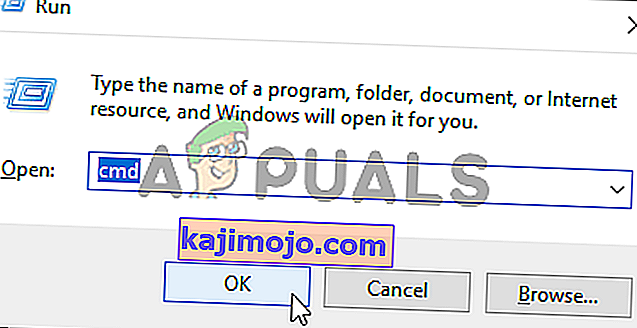
- Press “Windows’ + “R’ to open the Run prompt.
- Type in “cmd” and then press “Shift’ + “Ctrl” + “Enter” to provide admin permissions.Running the Command Prompt
- Type in the following command inside the command prompt and press “Enter” to execute it.
sfc /scannow
- Let the computer scan for any broken or corrupted items and it should automatically replace them with working ones.
- Check to see if doing so fixes the error message.

Method 9: Disabling Data Execution Prevention
Data Execution Prevention is a program that prevents certain programs or executables from being able to run on your computer because it suspects that they might be viruses. Due to this prevention, sometimes, as a false alarm, legit applications might also face issues while trying to run on your computer. Therefore, in this step, we will be disabling this setting from the system configuration panel. For that:
- Press ‘Windows’ + “R’ to open the Run prompt.
- Type in “Control Panel” and press “Enter” to launch the classical control panel interface.

- Inside the Control Panel, click on the “View By:” icon and then select the “Large Icons” option.
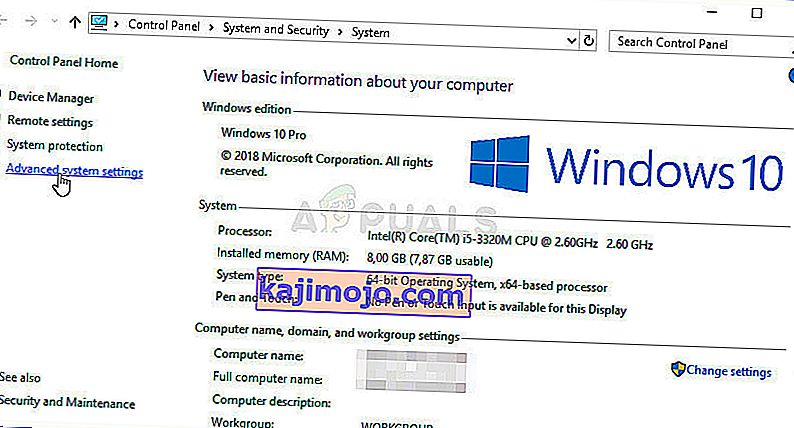
- After selecting Large Icons, select the “System” option.
- Click on the “Advanced System Settings” option on the left side of the screen.
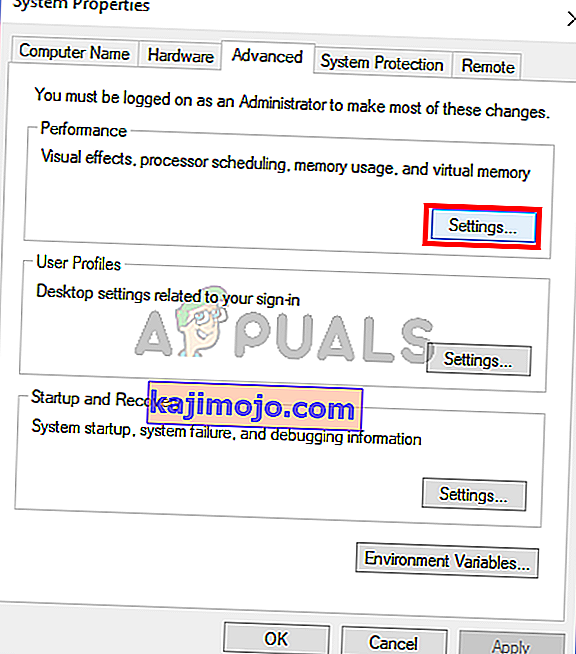
- In the advanced System Settings, click on the “Advanced” tab from the top.
- In the advanced tab, click on the “Settings” option under the “Performance” heading.
- On the next window that opens up, click on the “Data Execution Prevention” tab, and then select the “Turnon DEP for all programs except thoseI Select” option.
- After that, click on the “Add” option and point to the executable of the application that you are facing issues with.
- This way, that application will no longer come under the jurisdiction of the DEP program.
- Check to see if doing so has fixed the issue.


If the above process is unable to fix the issue, it might be because the executable isn’t the only one being affected by the DEP program. Sometimes the DEP might actually be preventing a herd of executables from being run on the computer and to counter this we will be disabling DEP completely.
Disabling DEP completely cannot be done through any Windows setting and it needs to be done manually through the command prompt. Remember to take this step as a last resort because this can in some cases makes your computer more vulnerable to viruses and malware attacks. In order to disable DEP through the command prompt:
- Press “Windows” + “R’ to open the Run prompt.
- Inside the Run prompt, type in “cmd” and then press “Shift” + “Ctrl” + “Enter” to launch in admin mode.
- Inside the command prompt, type in the following command and press “Enter” to execute it on your computer.
bcdedit.exe /set {current} nx AlwaysOff - Once the command has been executed, run the application that you want to and check to see if the error message still persists.
Method 10: Disable Firewall and Windows Defender
In some situations, the executable that you want to run on the computer might actually be blocked by the Firewall and it would not be able to make contact with its servers this way. Therefore, we will have to allow the executable in our Firewall for both public and private networks which should get it working if the Firewall is preventing it.
In addition to that, sometimes the Windows Defender might prevent the application from running on your computer because its local files might be suspicious and not properly signed. This can be due to a false alarm as well so we will be disabling the Windows Defender for the application as well by adding an exclusion. In order to do that:
- Press “Windows” + “R” to launch the Run prompt.
- Type in “ControlPanel” and press “Enter” to launch the classical control panel interface.
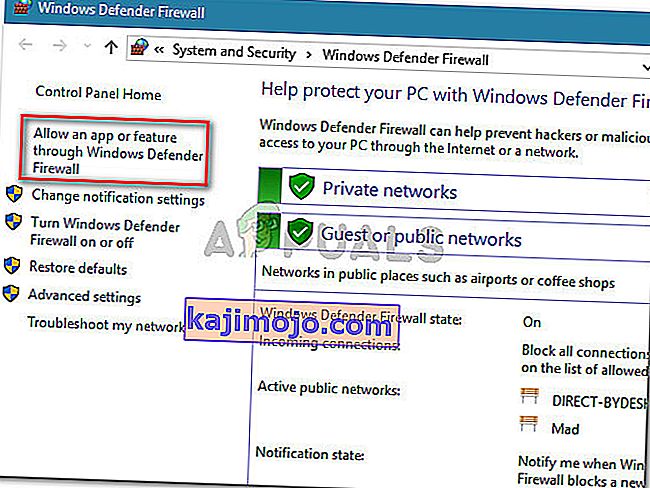
- Click on the “View by:” button, select “Large Icons” and then click on the Windows Defender Firewall option.
- Select the “Allow an app orfeature through the Firewall” button on the left pane and then click on the “Change Settings” button and accept the prompt.
- From here, make sure that you check both the “Public” and the “Private” options for the application and its entries.
- Save your changes and exit out of the window.
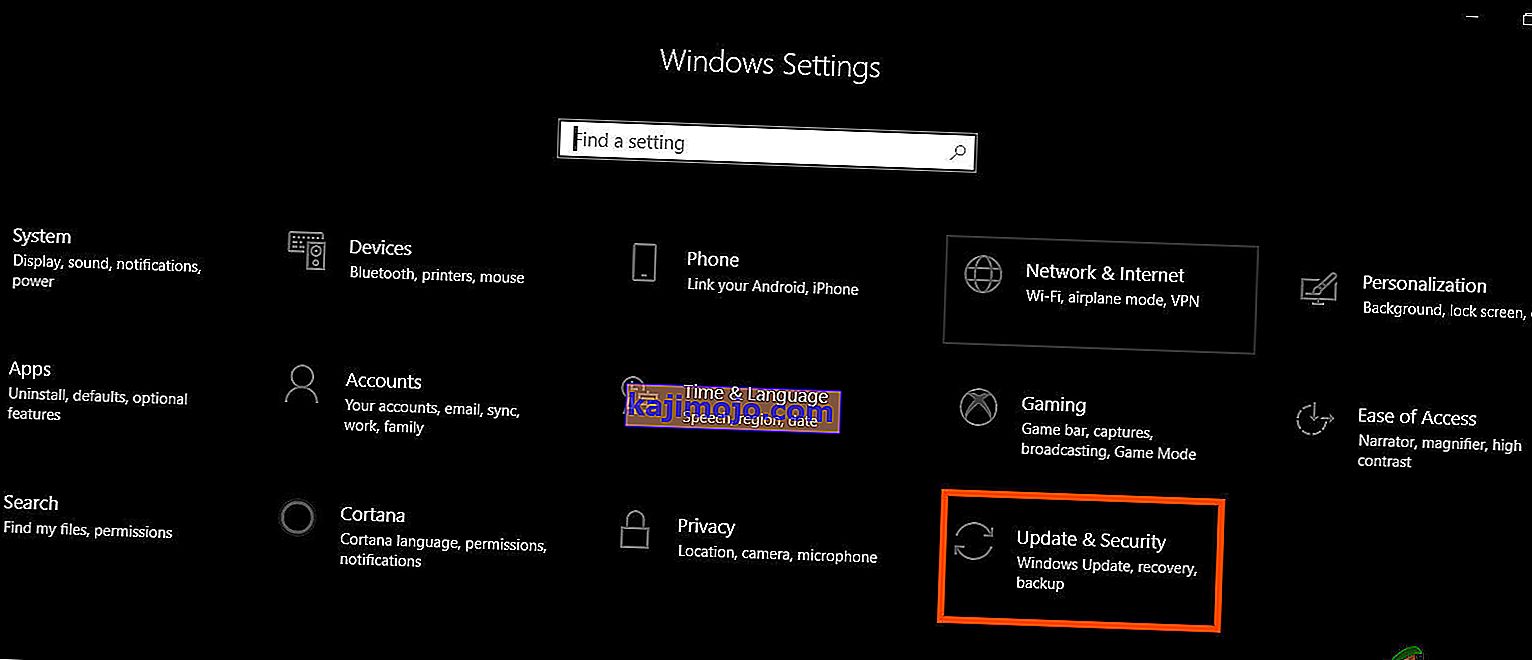
- After that, press “Windows” + “I” to launch the settings and click on the “Updateand Security” option.
- From the left pane, click on the “Windows Security” button and then click on the “Virus and Threat Protection” button.
- Select the “Manage Settings” button under the Virus and Threat Protection Settings heading.
- Scroll down and click on the “Add or Remove Exclusions” button in the next window.
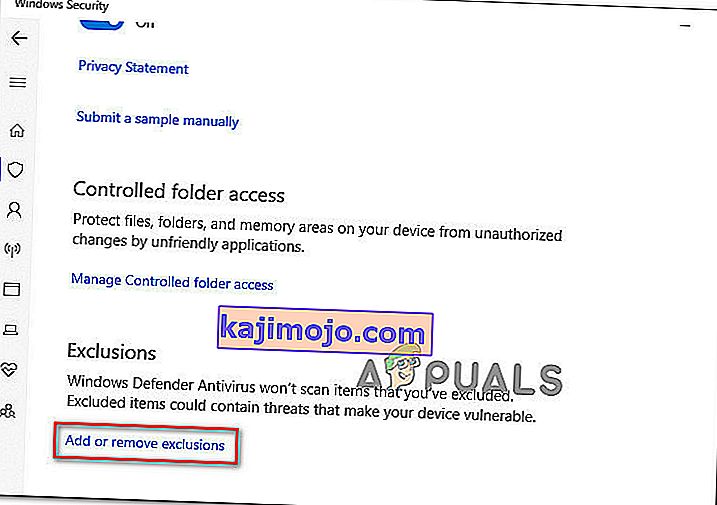
- Click on the “Add an Exclusion” option and select “Folder’ from the File type.
- Make sure to specify the application’s folder with which the issue is occurring and exit out of this window after saving your changes
- Check and see if doing so has fixed the error message.


Method 11: Reinstall Firefox
If you are getting this error while trying to launch Firefox, it might be occurring because the applications haven’t been installed properly on your computer. Therefore, in this step, we will be launching the app management window and uninstalling Firefox after which we will reinstall it completely by downloading it from the Firefox website. For that:
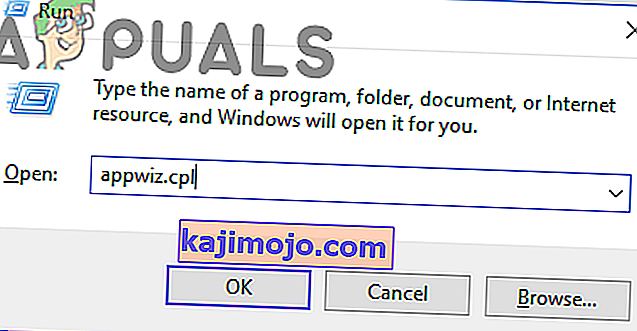
- Press “Windows” + “R” to open the Run prompt.
- Type in “appwiz.cpl” and press “Enter” to open the app management window.
- In the app management window, scroll down and right-click on the “Firefox” application.
- Select “Uninstall” from the list and then follow the on-screen instructions to remove the software from your computer.
- Repeat this step for all instances and bundled applications of the software installed on your computer.
- Make sure to disable any third-party antiviruses at this point to make sure that the software is installed smoothly.
- Head on over to the Mozilla website and click on the download button.

- Click on the downloaded executable and install it on your computer following the on-screen instructions.
- Check to see if doing so has fixed the error message on your computer.


Method 12: Scanning for Malware
It is possible in some cases that the computer has acquired malware that is preventing the user from being able to run all the system functions on their computer. Therefore, in this step, we will be using the default Windows Defender to scan our computer thoroughly for any viruses or malware that might’ve found its way on our computer. For that:
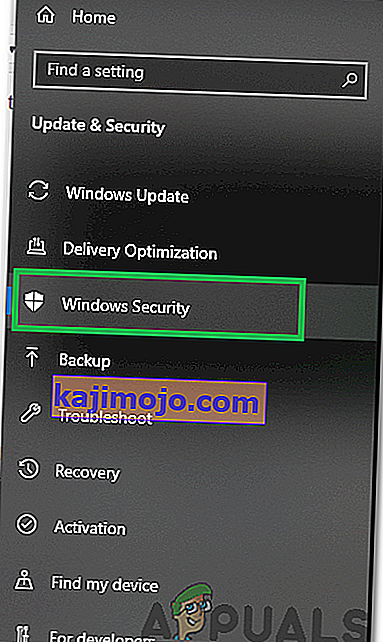
- Press the “Windows” + “I” keys simultaneously on your PC to open the Settings tab.
- Navigate to the Update& Security option and then click on the “Windows Security” button on the left tab.
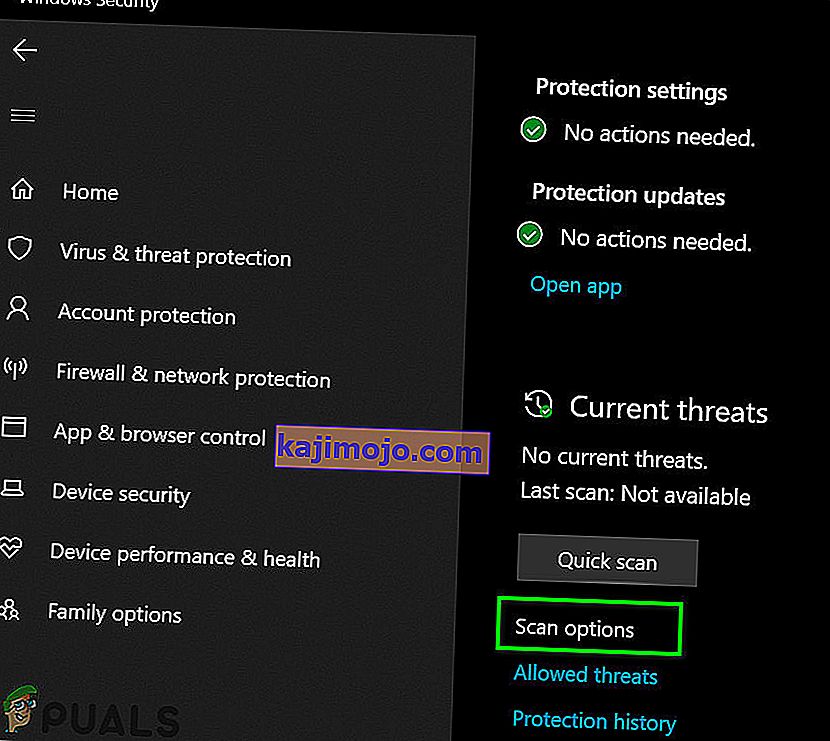
- After that, click on the “Open Windows Security” and select the “Virus and Threat Protection” option.
- After that, click on the “Scan Options” button below the “Quick Scan” window.
- Click on the “Full Scan” option and then hit the button of “Scan Now”.
- Wait for a few seconds while this process gets completed and then finally check if the error gets resolved now.


Microsoft Security Scanner is an additional tool that you can use to test the system for any further viruses and malware because sometimes the default tool isn’t able to perform the scan properly. Therefore, in this step, if the issue still hasn’t been resolved, we will be using the Microsoft Security Scanner to further make sure for any issues.
- Launch your browser and download the Microsoft Security Scanner from here.
- After downloading the executable, run it on your computer and let it install.
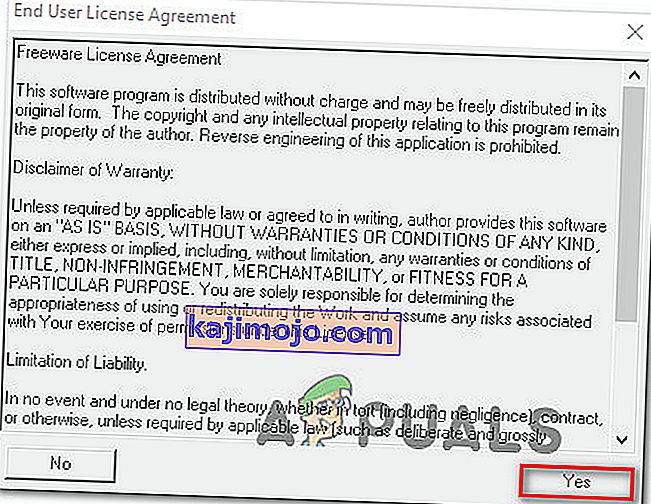
- Accept the License Agreement terms and click on “Next”.
- Select “Full Scan” and click on “Next”.
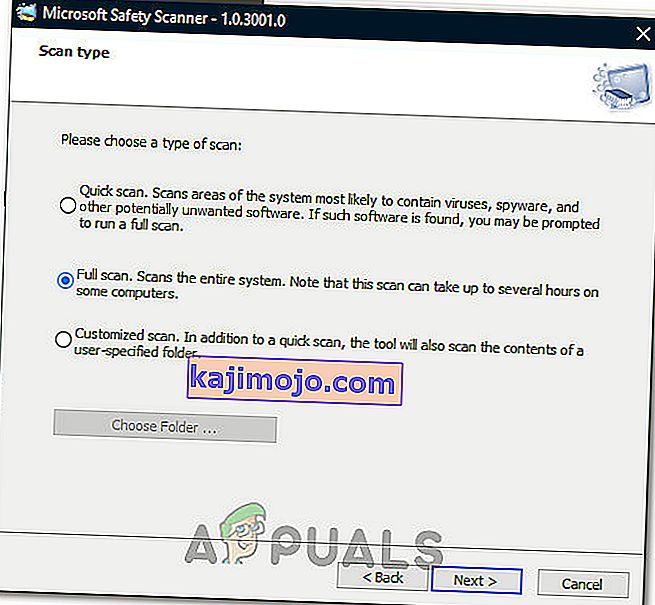
- After you opt for a full scan, the software will start scanning your entire computer to look for any malware or viruses that might’ve disguised themselves as normal executables or applications.
- After this scan has been finished, check to see if the error message still persists.


Method 13: Install Missing Drivers
It is possible in some situations that your device is missing certain drivers due to which this particular issue is being triggered on your computer. Therefore, we will be checking for any missing drivers and then we will check to see if the error is fixed. In order to do this, follow the guide below.
- Download Driver Easy on your computer.

- Run the downloaded executable and install the software on your computer.
- Run the check and see if there are any missing drivers on your computer.
- Install these missing drivers and then install them either manually or automatically using the Software.
- After installing all the missing drivers, check to see if the issue still persists.

Method 14: Reconfigure Registry
It is possible that in some cases, you haven’t properly configured all the registry settings or that you unknowingly configured something incorrectly. Therefore, in this step, we will be reconfiguring our Registry to fix a certain key that sometimes, if misconfigured, causes this particular error on Windows. In order to do this, follow the guide below.
- Press “Windows” + “R” to open the Run prompt.
- Type in “regedit” and press “enter” to launch the registry editor.

- Inside the registry editor, navigate to the following location.
HKLM\SOFTWARE\Microsoft\Windows NT\CurrentVersion\Windows\AppInit_Dlls
- Double click on the “LoadAppInit_DLLs” entry on the right side of the screen.
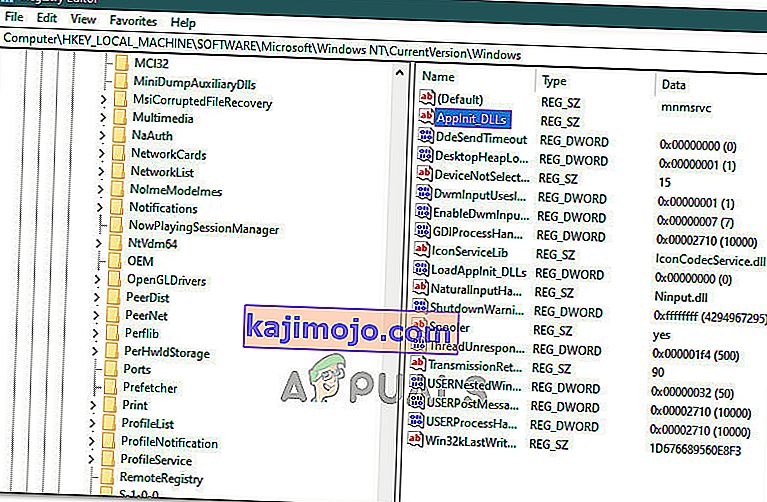
- Change the value of this registry from “1” to “0”.
- Save your changes and exit the registry editor.
- Check to see if doing so has fixed the error.


Method 15: Update Disk Drivers
In some cases, the Disk Drivers that are being used to control your Storage and other Disks installed on the computer might have been outdated due to which the error is being triggered. Therefore, in this step, we will first be opening the Device Management Window and from there, we will be updating these drivers. In order to do so, follow the steps mentioned below.
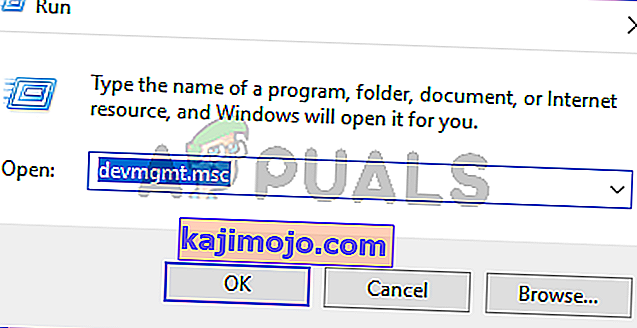
- Press “Windows’ + “R” to open the Run prompt.
- Type in “Devmgmt.msc” and press “Enter” to launch the device management window.
- In the Device Manager, double click on the “DiskDrives” option to expand it.
- Right-click on the storage device listed and select the “Update Driver” option.
- Select the “Search Automatically for Drivers” option and let the setup search.
- If there are any drivers available, Windows will automatically check for them and install them on your computer.
- Check to see if doing so has fixed the issue.


Method 16: Disabling Automatic Updates and Uninstalling Updates
It is possible in some cases, that this error is stemming from a faulty update install. Microsoft is notorious for pushing out updates that aren’t properly customized to work for all hardware combinations and often go on to break things instead of making them better. Therefore we will make sure that the recent update isn’t installed on our computer.
In order to do this, we will have to first disable automatic updates on our computer and then we will be uninstalling the recently installed updates. Make sure to back up any important data that you don’t want to lose just in case this goes bad.
- Press “Windows” + “R’ to open the Run prompt.
- Type in “service.msc” and press “Enter”.
- Scroll through the list and double click on the “Windows Update” service.
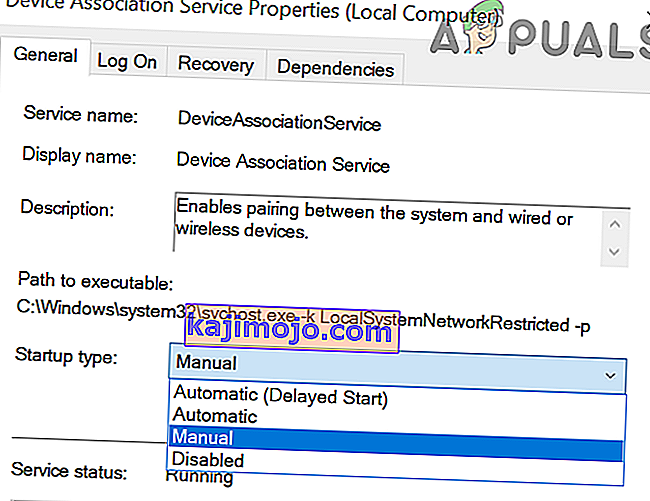
- Click on the “Stop” button and then click on the “Startup Type” dropdown.
- Select “Disabled” from the list and select the “Apply” button from the window.
- Click on “OK” to close out of this window.
- Check to see if doing so has stopped your computer from updating.


After stopping the computer from updating, we will now be uninstalling the recent updates that have been installed on your computer. For that:
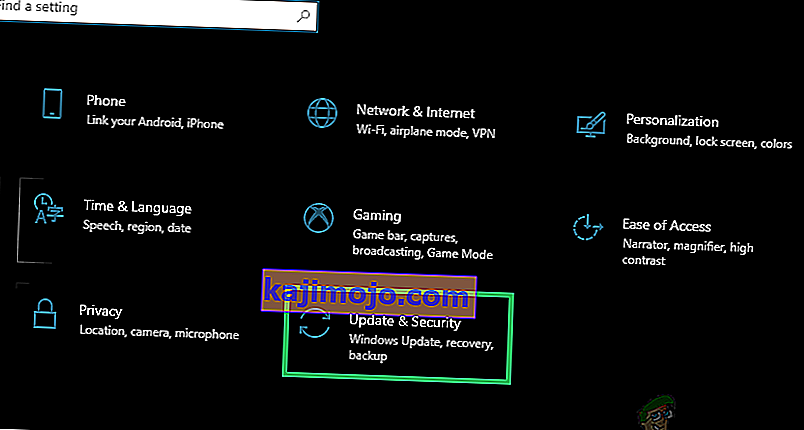
- Press “Windows” + “I” buttons to open the settings.
- In settings, click on the “Update and Security” option and then select the “Windows Update” button from the left pane.
- In the Windows Update, click on the “View Update History” option.
- In the Update History, click on the “Uninstall Updates” option and it should take you to the uninstallation screen where all the recently installed updates will be listed.
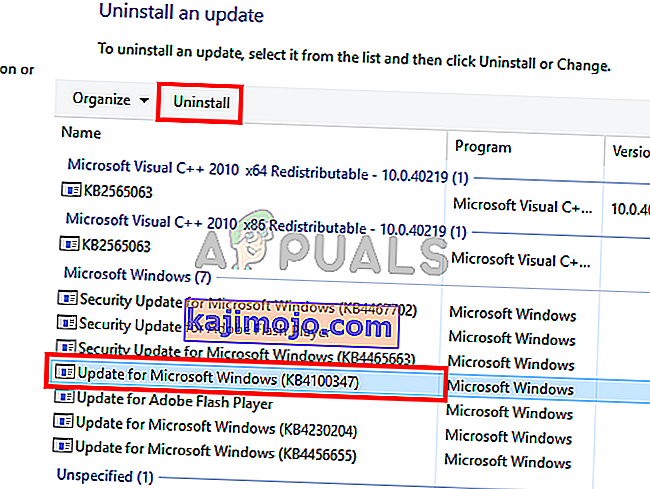
- From the list, right-click on the update that was installed recently and caused this error on your computer.
- Right-click on this update and select the “Uninstall” button to remove it completely from the computer.
- Follow through with the on-screen instructions.
- Check to see if uninstalling has fixed this issue.


Additional Fixes:
- In addition to some of the recommendations given above, you should try to check if there are any bad memory modules (RAM) installed on your computer which can be a cause of this.
- Ngoài ra, hãy đảm bảo kiểm tra xem bạn có ép xung RAM lên mức vượt quá giới hạn đề xuất hay không. Nếu bạn đã làm như vậy, hãy thử đưa nó về mặc định ban đầu và kiểm tra xem điều đó có khắc phục được sự cố của bạn không ..